Editing Consequences
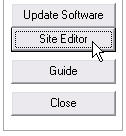 To edit your Consequences, first go to Utilities and open your Site Editor as shown here on the right.
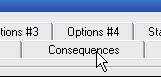 Then click the Consequences tab at the top of the window.
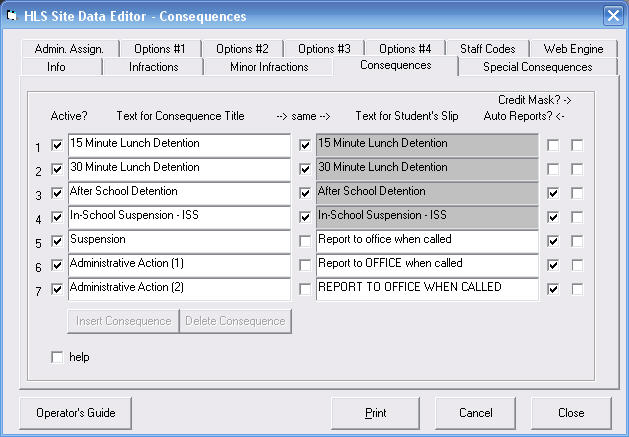
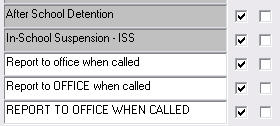
As you can see below, the Edit Consequences window contains a lot of data that you can manipulate.
 Remember, you can always check the Help Box and then move your mouse pointer over objects in the window to learn more about what you see on the screen.
To help you understand all this information, we will work our way across the window from left to right and discuss the items and choices available to you.
Active Consequences
You are allowed up to seven progressive stages of consequence. In the example above all seven are being used. If you were to use only 5 stages, the last two boxes in the first column would not be checked.
These check boxes determine the normal Consequence Mask that each student uses. If your normal pattern is going to use fewer than seven stages, you can insert an inactive step anywhere in the middle and uncheck it. Most students will never be assigned this consequence, but you can turn it on for individual students. To do this use the Edit Biographic Data window on the student's record.
 Non-Progressive Infractions always result in the student being assigned the first or lowest stage of consequence.
This is true whether stage one is check active or not.
Non-Progressive Infractions always result in the student being assigned the first or lowest stage of consequence.
This is true whether stage one is check active or not.
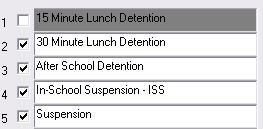
If you uncheck stage 1 as you see here, stage 2 is the first consequence students will receive and all futher consequences are calculated from there. However, if a student receives an infraction weighted at less than 3 demerits the consequence will be stage 1.
The Consequence Title

The boxes of text on the left half of the window show you the text of the title for each of your consequences. This text is what will appear on all your reports and documents. You can edit the text by simply clicking in the box and making the changes you desire.
The Check Boxes.
The check boxes that run down the middle of the window are there to make editing your consequences quicker. If you want the same text on the student's Report to Detention Slip uncheck these boxes.
Sometimes, especially for your higher stages, you want something different printed on the student's slip. Uncheck the box in the middle and you can change the text the student sees.
The Consequence Title
As stated in the paragraph above, you can choose to have the text that appears on the student's Report to Detention Slip be different from the title that appears on the reports.
Uncheck the box in the middle of the line and you can edit the text on the right hand side. When checked, the text area is gray and you can not change it.
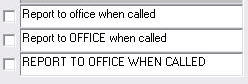
Notice how in this example we have played with capital letters in the last three entries. We have done this so that if an administrator is shown a slip by the student, the lettering indicates what stage of consequence the student is on.
The Auto Report Check Boxes

 When you print your Detention Slips the computer will also automatically print 30 Day Reports for students who have been assigned to higher stages of consequence. The boxes that you check in this second to last column will be the stages that normally get printed.
The Credit Mask Check Boxes

We do not recommend that you check ANY of these boxes
The last column of check boxes is used by schools who do not want to Clear Slips for some of the consequences when the ![]() button is pressed. They want the computer to keep printing slips every day for the student until the slip is cleared manually.
button is pressed. They want the computer to keep printing slips every day for the student until the slip is cleared manually.
There are many problems that come along with this strategy. Please look at our description of The Credit Mask before you activate this feature in your school.
Saving Your Changes
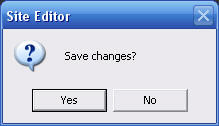 When you close this window you will be given the choice to save your changes.